Culturing phytoplankton and copepods at home
Bottled phytoplankton is expensive and goes off quickly. Your own culture costs a fraction, is always fresh — and when you pair it with a copepod culture, you have a self-feeding production line for live food.
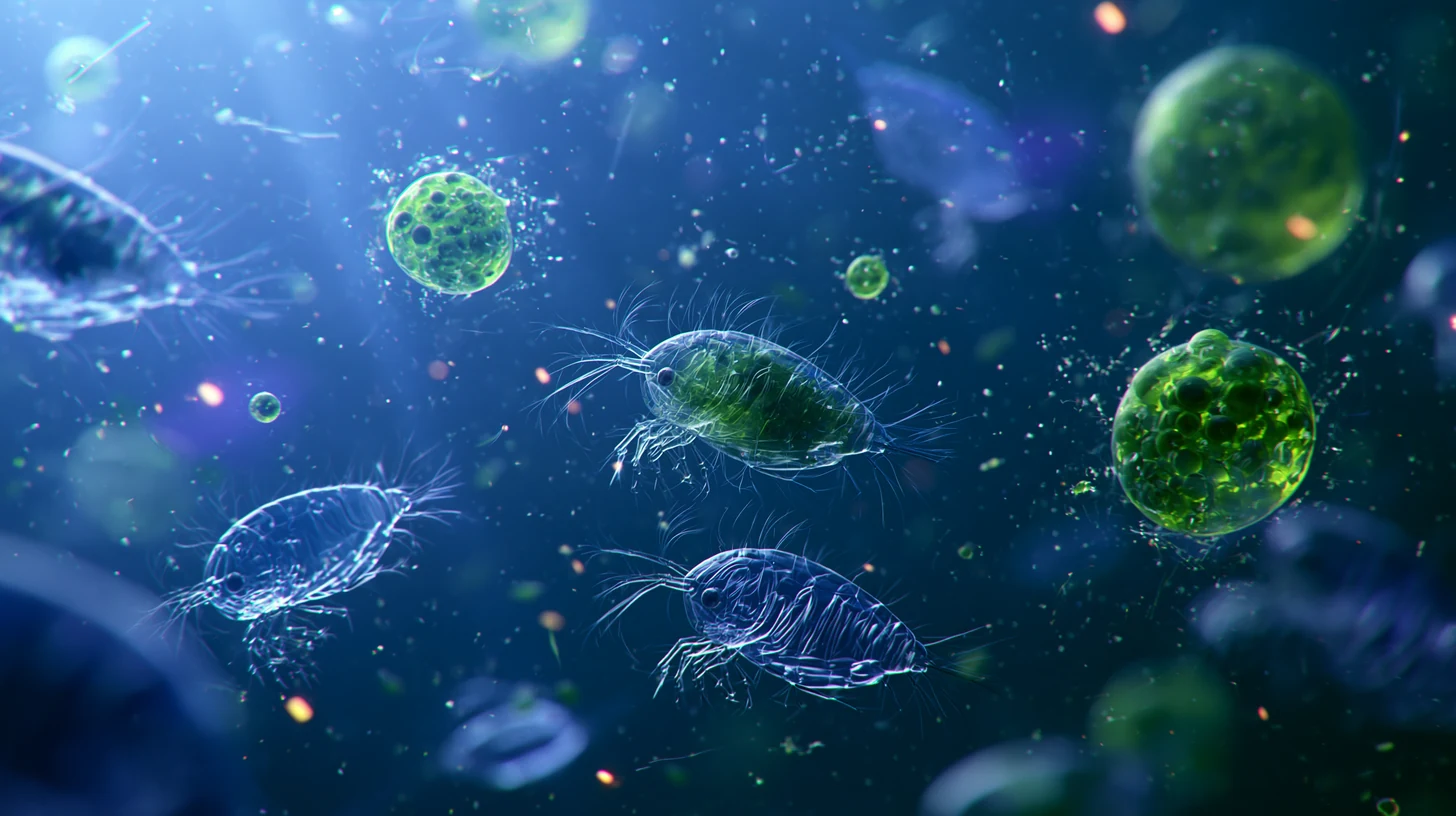
This article shows you how to grow two things yourself that are otherwise bought in a bottle: phytoplankton (microalgae) and copepods (small crustaceans). This isn’t only about saving money, though that is real too — a litre of bought live phyto costs many times what home-grown costs. More important are freshness and continuity: your own culture produces live, reproducing algae on demand, and your own copepod culture maintains a constant flow of microfauna into the tank.
The focus here is on production. Adding, dosing and maintaining the tank’s microfauna are covered in a separate article — more on this: Zooplankton and phytoplankton — adding in practice. The biology and ecological significance of plankton are explored in more depth in the research article — deeper on this: Zooplankton and phytoplankton — a research journey.
When home culturing is worth it — and when it isn’t
Home culturing isn’t a required task for every hobbyist, and it’s worth being honest about what it’s actually needed for.
Culturing is worth it if your tank has mandarins, wrasses or other pod-eaters whose food supply demands constant copepod production; if you keep filter feeders (clams, sponges, non-photosynthetic gorgonians) that need live phyto; if you’re deliberately building a rich food web; or if simply buying bottles becomes expensive over time. Home-grown phyto is also fresher than anything bought — a live culture is at its peak right after harvest.
Culturing isn’t worth it if you’re a beginner and the basic parameters (salinity, temperature, major elements) aren’t under control yet; if the tank is lightly stocked or fish-only, in which case ordinary feeding is enough; or if you’re already fighting high nutrients or algae — then an extra nutrient source is gasoline on the fire. Home culturing takes space, requires daily attention and occasionally fails. It is a hobby within the hobby.
Phytoplankton culture (Nannochloropsis)
Let’s start with phyto, because it’s the foundation: copepods eat phyto, so phyto production has to be working first.
By far the best species for a beginner is Nannochloropsis. It’s hardy, fast-growing and tolerates variable conditions better than more delicate species like Isochrysis or Tetraselmis. Its nutritional value is good for both copepods and rotifers. Once you’ve got the basic technique down, you can expand the range — but learn with one species first.
Equipment
- Culture vessels: clear ~2 litre bottles or small aquaria. Several vessels are worthwhile so you can stagger cultures and keep going if one crashes.
- Light: bright light from the side or behind the vessel. An ordinary LED panel or even a bright fluorescent tube is enough; no special spectrum is needed. Light on continuously or on a timer — Nannochloropsis grows fastest under continuous light.
- Aeration: an air pump and airline. For phyto, aeration can be vigorous — the point of the bubbles is to keep the cells in suspension and bring in carbon dioxide for photosynthesis. An air stone isn’t necessary, the bare end of the tube is enough; too fine a bubble can foam.
- Fertiliser: F/2 nutrient solution (Guillard’s F/2) is the standard answer — it’s the “food” that keeps the algae growing. European phyto suppliers sell it, for example Coralaxy (Germany, within-EU shipping) and Reefphyto (UK), often as a ready starter-culture + fertiliser pack. There are also multi-component “modified F/2” versions that reduce contamination by splitting the main nutrients into separate solutions. Ready-made microalgae fertilisers such as Micro Algae Grow do the same job.
- Saltwater and a starter culture — a bottle of live Nannochloropsis to begin with. One starter bottle is enough: the culture propagates itself, so you don’t need to buy seed again as long as the cycle stays clean. Live Nannochloropsis seed is available in Europe from, for example, Reefphyto (UK) and Coralaxy (Germany); it’s often sold as a seed + F/2 pack. Domestic and Nordic marine-aquarium shops and hobbyist forums also supply starter cultures.
The rest of what you need — air pump, airline, bottles and a timer — is ordinary aquarium and household gear available from any aquarium shop or supermarket. The whole phyto setup costs a few tens of euros, and after the starter bottle the running costs are basically F/2 fertiliser and electricity.
Setup and parameters
Cleanliness is the single most important thing. Wash the vessels and tubing thoroughly — vinegar water or dilute alcohol disinfects well — and rinse. Contamination (foreign algae, sponges, ciliates) is the most common cause of culture failure.
Mix the saltwater to a slightly reduced salinity, specific gravity about 1.019. Nannochloropsis tolerates a wide salinity range, and slightly reduced salinity discourages some contaminants. Dose F/2 according to the instructions — the rule of thumb is about 1 ml of fertiliser per litre, and about 1.5 ml/l for longer (8+ day) cultures. Keep the temperature at room temperature, around 20–24 °C.
Pour in the starter culture. A good starting ratio is about a quarter of the vessel’s volume as seed, the rest fresh saltwater — the denser the start, the faster it gets going. Turn on the aeration and the light.
Growth curve and harvesting
The culture progresses along a recognisable curve. The first days are the lag phase: little visible change as the algae adapt. Then comes exponential growth: the water darkens noticeably greener day by day. Finally a plateau is reached, where nutrients or light begin to limit growth and the green no longer deepens.
The culture is mature and ready to harvest typically in 6–8 days. The sign is simple: the water is so deep green you can no longer see through it, and the colour no longer darkens. The colour should be a clean green — a brown tinge, cloudiness or a slimy layer settling on the bottom are signs of trouble.
You don’t need a microscope to judge density. Practical test: hold the bottle against printed text or a finger. When you can no longer make them out through a few centimetres of green, the culture is dense enough to harvest. Scaling up is done in steps: a small seed bottle (say a decilitre) is first grown to full density, then poured as seed into a 2 litre vessel, and once you’ve found the rhythm you can run several vessels in parallel. Never pour a small seed straight into a large volume — a dilute start grows slowly and contaminates more easily.
Don’t harvest everything. Partial harvesting keeps the culture running continuously: take a third to a half out and immediately top the vessel back up with fresh saltwater and a dose of F/2. The dense algae left behind acts as the seed for the next batch, and it gets going faster than starting from scratch. This way a single vessel produces a harvest weekly without buying new seed.
Harvested phyto keeps in the fridge for about 4–6 weeks. Shake the bottle daily so the algae don’t settle and suffocate on the bottom.
Common problems
A crash — the collapse of a culture — means the algae die en masse: the water clears or turns brown/grey, and the smell goes bad. The usual causes are a culture left too old (not harvested in time), contamination or the aeration stopping. A crashed culture isn’t worth trying to save — wash the vessel and start with clean seed. This is exactly why it pays to keep several vessels at different ages: one crash doesn’t bring down the whole production.
Contamination often shows as an odd colour, cloudiness or growth accumulating on the bottom. Prevention is the only thing that works: clean equipment, a dedicated pipette or pouring spout for each vessel, and never touching the seed bottle with dirty tools.
Copepod culture (Tisbe biminiensis)
Once phyto production is running, a copepod culture is an easy addition — it actually consumes the very phyto you’re now producing.
The best species for a beginner is Tisbe biminiensis, a harpacticoid copepod. Harpacticoids are hardy bottom- and surface-dwelling species that reproduce quickly and tolerate the swings of aquarium conditions exceptionally well. Tisbe is in practice the species most people succeed with on the first try. (Pelagic calanoids are nutritionally excellent for fish but clearly harder to culture.)
Equipment and setup
- Vessel: a bucket (e.g. 10–20 l food-grade plastic) or a small aquarium, from a few litres upward. The larger the volume, the more stable the culture and the slower the water quality can collapse. A loose lid or gauze on top keeps dust and splashes out while letting air exchange.
- Aeration: very gentle. This is the opposite of phyto. The aim is just oxygenation and light circulation — a slow, coarse bubble stream from the open end of the tube without an air stone (an air stone produces fine bubbles and foam that stress the pods). Too much turbulence stresses adults and reduces egg production. No strong flow pump is used; it shreds the tiny crustaceans.
- No mechanical filtration or sump — they would remove the very thing you’re trying to grow.
- Starter culture: a starter bottle of live Tisbe copepods, typically 1,500+ individuals at various life stages. In Europe, Tisbe seed is sold by e.g. Reefphyto (UK) and Coralaxy (Germany) as well as many domestic and Nordic marine shops; hobbyist forums also pass them around cheaply. One bottle is enough to establish a culture — it too propagates itself.
- Food: your own live Nannochloropsis phyto from the previous section.
- Harvesting tools: two sieves of different mesh sizes and a couple of clean containers. More on these in the harvesting section.
Parameters
Keep the salinity the same as the main tank, at the target value of 35 ppt (specific gravity about 1.026 at 25 °C). That way the harvested copepods don’t need to be acclimated separately before adding them to the tank. Salinity stability matters: even a small swing stresses copepods, so top up evaporation with fresh water and mix new saltwater to the same value. Keep the temperature stable, a good target being around 24 °C; temperature swings are one of the most common hidden crash causes.
Feed live phyto daily, just enough to keep the water lightly tinted green. The green tint says food is available; clearing says the pods have eaten it all and it’s time to feed again. Don’t overfeed — excess phyto settles on the bottom, rots and raises ammonia.
Cycle and harvesting
After seeding the culture, wait 5–7 days before the first harvest. During this time the population grows and starts to reproduce. Don’t harvest too early, or you’ll wreck production before it has properly started.
What you harvest the pods with. The harvesting tool is a plankton or copepod sieve — a frame with a fine mesh of a specific hole size (micron rating) as its base. Water drains through the mesh, but organisms larger than the holes are retained on top. Tisbe is a small harpacticoid, so the right mesh sizes are:
- about 120 µm for adult Tisbe (note: the often-repeated 200 µm is meant for larger species like Tigriopus — for Tisbe it lets the adults through too),
- about 50 µm for nauplii, the larval stages, which are the best food for small-mouthed fish and coral larvae.
Ready-made stackable sieve sets (several micron sizes on top of each other) are sold by aquaculture and plankton suppliers; in Europe you’ll find them from the likes of Reefphyto and Coralaxy as well as lab-supply shops. A DIY sieve, however, is cheap and entirely sufficient: buy nylon or polyester plankton mesh by the metre (sold by micron size) and glue a piece watertight to the end of a PVC pipe offcut or even a plastic tub with the bottom cut out. An ordinary brine-shrimp net is too coarse for nauplii, so don’t rely on it.
Harvesting step by step. Pour or ladle culture water first through the 120 µm sieve into a clean container. The adult copepods are retained on the sieve; rinse them with a little culture water and return them to the culture to breed — the adults are the production machinery, not the harvest. Then pour the water that passed through the 50 µm sieve: the nauplius and copepodid stages collect on top, and these are the actual harvest. Invert or rinse this sieve into a small cup of tank water and dose it into the tank. A quick alternative spot-harvest works with a large suction pipette (turkey baster): suck dense pod mass off the vessel walls or bottom straight into feeding, when you don’t need to sort by size class.
You can harvest a little daily or a larger batch a couple of times a week. Always leave plenty of individuals — especially adults — behind. The culture lives on what stays, not on what you take. A good rule of thumb is to harvest at most a third of the visible population at a time.
For maintenance, do a roughly 50 % water change weekly with fresh saltwater matched in temperature and salinity. In practice this fits in with harvesting: harvest, pour out some of the old water (through a sieve, so you don’t lose pods) and add new saltwater. This keeps waste under control and prevents the ammonia spikes that can kill a whole culture overnight.
Common problems
A copepod-culture crash almost always stems from a collapse in water quality: overfeeding → rotting phyto → an ammonia and nitrite spike. The sure sign is a rotten-egg smell — it signals a bacterial bloom in decaying matter. If you smell it, the culture is in critical condition and needs a large water change right now. Other crash causes are temperature swings and the aeration stopping (oxygen starvation). The remedy is always the same: a big water change with matched water, check the aeration, and ease off feeding until the water clears.
Combining the two cultures
Phyto and copepods together form a small closed food chain: you feed the phyto with fertiliser, the phyto feeds the copepods, and the copepods feed the tank. The practical question is sizing — how much phyto one pod culture needs.
A workable rule of thumb is that phyto production must be comfortably larger than the pod culture. One 2 litre phyto vessel, from which part of the harvest is collected weekly, feeds a small Tisbe culture comfortably and still leaves a surplus to dose into the tank. If the copepod culture grows large or you run several, you’ll need several phyto vessels in parallel.
The practical rhythm falls naturally into a week: phyto vessels staggered so one is always ready to harvest; the copepod culture fed daily with fresh phyto; the copepod harvest and water change once a week. Once the rhythm is found, the whole system runs on about 10–15 minutes of daily work.
Your own harvest into the tank
Home-grown phyto and copepods are dosed into the tank with the same logic as bought ones. Phyto is dosed little and often, ideally split into several doses a day, and the skimmer and UV steriliser are worth pausing during dosing so they don’t remove the food you just added. Copepods are best added to a refugium or other sheltered spot where they can reproduce before ending up in fishes’ mouths — this lets the seed population establish. The exact amounts and timing of dosing are in the adding-in-practice article.
For anyone planning a mandarin or other demanding pod-eater, your own copepod production is often the decisive factor that makes keeping the fish long-term possible — more on this: Fish selection and compatibility.
Sources
Hobby sources and culture guides
- AlgaeBarn / The Algae Lab: A Primer on the Different Characteristics and Uses of the Major Copepod Groups. https://algaebarn.com/major-copepod-groups/
- AlgaeBarn: 4 Tips for Seeding Live Copepods. https://algaebarn.com/4-tips-seeding-live-copepods/
- Melev’s Reef: 10 Step Phytoplankton Culture. https://melevsreef.com/articles/10-step-phytoplankton-culture
- Nano-Reef Community: Culturing Phytoplankton For Reef Aquarium Food. https://www.nano-reef.com/articles/advanced/culturing-phytoplankton-for-reef-aquarium-food/
- PodDrop: A Definitive Guide to Culturing Tisbe Biminiensis Copepods. https://www.getpoddrop.com/blogs/blog/tisbe-biminiensis
- PodDrop: How to Culture Copepods Without Crashes. https://www.getpoddrop.com/blogs/blog/how-to-culture-copepods-without-crashes
- Reef Nutrition: Culturing Tigger-Pods. https://reefnutrition.com/pages/culturing-tiggerpods
Brand and supplier documentation
- “Phytoplankton for Reef Tanks — A complete practical guide” (Tamara / Reef Tank Phytoplankton Series), strain and dosing sections.
- AlgaGen: Tisbe Copepods Care — Temperature & Feeding. https://algagen.com/blogs/copepods/tisbe-copepods-care-temperature-feeding
- Coralaxy (Germany): F/2 fertiliser and “How to culture phytoplankton”. https://coralaxy.de/en/products/phytoplankton-duenger-f2
- Reefphyto (UK): Phytoplankton Nutrient — Modified f/2 Medium & Nannochloropsis starter cultures. https://reefphyto.co.uk/products/phytoplankton-nutrient-modified-f-2-medium