
Starting a reef tank step by step
A new tank’s startup is decided by the order of operations. Many mistakes — a leaking sump, a collapsing rock structure, a sandstorm, the wrong salinity — happen because the steps are done in the wrong order or one is skipped in a hurry. This article goes through the whole chain from assembly to the start of the cycle, precisely enough that a hobbyist who has never set up a tank knows what to do, in what order, and to what tolerances.
The article ends where the cycling process in practice begins — the cycling phase itself is covered in its own articles, which this guide leads into.
Before you start — planning and purchases
The most important decision is the location, because a filled tank is not moved afterwards. A full marine aquarium weighs roughly its water volume in kilograms plus the weight of the glass, rock and sump: a 300-litre tank with rock and sump approaches 400–450 kg, and the weight bears on a small area. In an old timber-framed house, place the tank near a load-bearing wall or reinforce the floor; if in doubt, ask a structural specialist. Other requirements: GFCI-protected outlets nearby, a water point and drain within reach, no direct sunlight (algae problems and heat spikes), and service room around the tank and inside the cabinet for the sump.
Make sure the key purchases are ready before assembly: tank and cabinet, sump, RO/DI unit, reef salt, circulation and return pumps, heater, protein skimmer, light, automatic top-off (ATO), a reliable thermometer and a refractometer for measuring salinity, plus rock and substrate. One early decision affects the whole timeline: do you start with live rock (brings a bacterial population, faster cycle, but may introduce pests) or dry rock (clean and pest-free, but a slower cycle that needs a bacterial inoculant). We return to this at the cycling stage.
Step 1 — Placement and levelling
Set the cabinet in place and check the level with a spirit level in both directions. A tilted tank distributes water pressure unevenly into the glass seams and later shows as a slanted waterline that cannot be corrected afterwards. Adjust the cabinet feet or use thin shims until level is correct under no load — the goal is no perceptible deviation in the bubble.
Set the tank on the cabinet with a levelling mat (a thin foam or EVA sheet) that distributes pressure and evens out small irregularities. Re-check the level from the tank rim. A background film or painted background is easiest to fit now, while the tank is empty and dry.
Step 2 — Dry assembly of the equipment and the leak test
Before a single gram of sand goes into the tank, the equipment is assembled and tested. Skipping this step backfires worst of all: a leak is found much more easily in an empty than in a furnished tank.
Install the sump in the cabinet, connect the overflow and return plumbing and hook up the return pump. The plumbing should follow a few principles:
- Size the pipe by flow velocity, not by the connection. Keep the return (pressure) side at about 1.5–2.0 m/s and the suction side lower at 1.0–1.5 m/s to avoid cavitation. This often means the correct pipe size is one gauge larger than the pump’s port.
- Minimise bends. Every sharp 90° elbow adds friction; use two gentle 45° elbows instead of one sharp one. At worst, poor routing requires up to 60 % more electricity to produce the same flow.
- Leave a straight run before the pump on the suction side, as a rule of thumb about five times the pipe diameter (e.g. ~315 mm for a 63 mm pipe). An elbow directly in front of the intake loads the impeller bearing unevenly and shortens its life.
Once the plumbing is done, run a leak test with RO/DI water (TDS 0) before adding salt. Fill the tank and sump, start the return pump and let it run for at least 24–48 hours. Check all connections, the sump compartments, the overflow operation and that the cabinet floor stays dry. Pay particular attention to the flood test: cut power to the return pump and make sure the sump does not overflow from water draining back through the return pipe. Install a check valve in the return pump’s return line — it prevents water from draining back into the sump when the return pump is off (remember to service the valve every 6–12 months). This test is done now, not when there are animals in the tank.
Step 3 — Substrate and rockwork
Once the tank is confirmed watertight, the water is drained and you move on to substrate and rock. The order matters: the rock goes directly onto the base glass or onto separate supports, and the sand is brought in around it — not under the rock. If the rock is placed on top of the sand, burrowing animals and water flow can shift sand out from under it over time, letting the structure move and possibly collapse.
Substrate depth is a choice, not chance: bare bottom (0 cm) is the easiest to siphon, a shallow sand bed is typically 2–4 cm, and a true deep sand bed is over 7–10 cm. The most dangerous is the in-between (about 4–7 cm), which builds up anaerobia without the full denitrification benefit. The choice and its maintenance are covered separately — make the decision before filling. More on this: Substrate in practice. Rinse coarse gravel if needed; fine aragonite sand usually does not need rinsing, but add it gently so the water does not cloud.
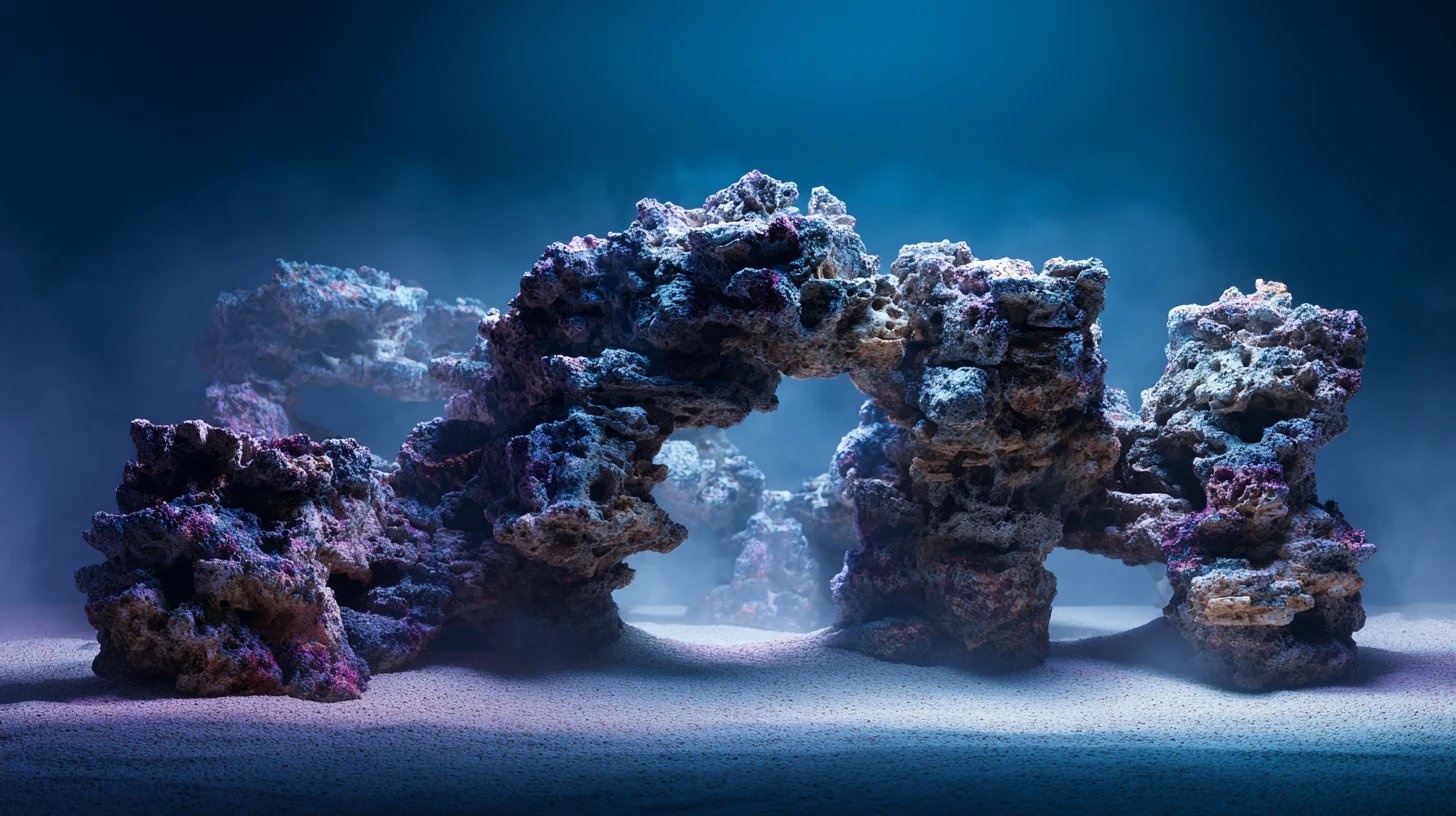
The rock structure (aquascape) is best assembled dry outside the tank first. A good method: cut cardboard to the tank’s base dimensions, mark a margin of a few centimetres from the walls, and build the structure on it. This way you see the result and can glue the pieces before lifting the structure into the tank. Stability is solved in one go: the rocks are joined with coral glue (cyanoacrylate) and two-part epoxy, and in larger structures acrylic rods through the rocks make the structure immovable. Test the finished structure by pushing it with your palm — it must not rock at all. A collapsing rock structure is one of the most dangerous startup mistakes: it can crush animals and break the base glass.
Leave a gap between the structure and the glass, at least 3–5 cm, for two reasons: so the glass can be cleaned and dropped items retrieved, and above all so water circulates around and through the structure and detritus does not collect in dead corners. An open, sparse structure with plenty of caves is better, both biologically and practically, than a dense rock wall.
Step 4 — Mixing and filling with saltwater
The starting point is always clean RO/DI water (TDS 0) — tap water brings phosphate and silicate, which backfire as algae problems. Mix the salt preferably in a separate container, not among the rock and sand, so the crystals dissolve evenly. Add salt to water (not water to salt) and keep circulation and aeration running.
Target values:
- Salinity 35 ppt, i.e. specific gravity about 1.025–1.026 (measured at 25 °C). Salt consumption is about 35–38 g per litre depending on the brand; add the last portion little by little and measure.
- Temperature ~25 °C (tolerance 24–26 °C) before measuring, because temperature affects the reading.
- Mix and aerate until the salt is fully dissolved and the water is clear — mixing time depends on the salt. Many modern salts are ready to use within minutes or a few hours, while traditional salts benefit from longer (~8–24 h) mixing; always follow the manufacturer’s instructions. High-alkalinity quick-salts should not be stored long, because the elevated calcium and alkalinity begin to precipitate. Keep gentle surface turbulence for gas exchange.
Measure salinity with a refractometer calibrated with pure RO/DI water (reading 0) or with a 35 ppt calibration fluid. Warning: do not use digital salinity meters that are not laboratory-grade — a wrong salinity reading can cause major problems in the tank. In large tanks the first fill can be done by mixing the salt directly in the tank when there are no animals yet, but even then the water is left to circulate and the values are measured only once everything has dissolved and the temperature has settled. More on this: Salinity.
Step 5 — Starting and tuning the equipment
Once the tank is full of correctly salted water, the equipment is started and tuned one at a time.
Heater. Size the power roughly at 0.5–1 W per litre depending on room temperature, set the target to 25 °C and verify operation with a separate reliable thermometer. Let the temperature settle for a day and check that the heater neither over- nor under-heats. The thermostat’s own sensor can be inaccurate — trust the separate meter.
Circulation pumps. Aim for total flow that circulates the whole tank and leaves no dead zones. A rough indicative level is about 20× the tank volume per hour in a soft- and LPS-dominant tank and 30–50× in an SPS-dominant one; final tuning is done according to the corals. Direct the flow along the rock surfaces, not straight at the sand, so the bottom does not blow up. More on this: Water flow in practice.
Protein skimmer. A new skimmer “froths” unstably for the first days or weeks until the surfaces settle. Set it roughly now and fine-tune the cup only once the system has settled.
ATO (automatic top-off). Install it right away and fill the reservoir with RO/DI water only — evaporating water is pure water, not salt, so the top-off is done without salt. Stable salinity is the foundation of the whole cycle and the tank’s stability.
Lighting. You can switch the light on, but keep it modest or off during the cycling phase: strong light in an empty tank only feeds algae. The photoperiod and intensity are raised gradually only as corals are added. More on this: Lighting in practice.
Step 6 — Beginning the cycle
Once the equipment is running and the water values are right, the biological cycle begins. From here on the tank needs time and monitoring, not building: the goal is to grow the population of nitrifying bacteria that reliably processes ammonia and nitrite to zero before a single animal is added.
For the startup, the key is to begin correctly. Introduce an ammonia source — either bottled ammonia dosed to about 2 ppm or a bacterial inoculant with a small nutrient addition — and start monitoring ammonia, nitrite and nitrate. Here the early rock decision determines the timeline: live rock or an inoculant brings a bacterial population and the cycle typically progresses faster, whereas with clean dry rock the cycle is slower and relies on added bacteria. If you use uncured live rock, its dead material causes a strong ammonia spike — cure it separately in that case or be prepared for a long cycle. The course and duration of the cycle, and when the first animals can be added, are covered in detail in their own articles. More on this: Cycling process in practice.
Once the cycle is complete, the fish population is built up gradually according to the tank’s processing capacity — not all at once.
Common startup mistakes and how to fix them
Skipping the leak test. A sump or plumbing leak is found in a furnished tank at the worst possible time. Fix: always test with RO/DI water for 24–48 h before substrate, and do the flood test for power outages.
Microbubbles in the water. Usually air on the suction side (a loose joint, too low a water level in the sump) or the skimmer’s break-in phase. Fix: seal the suction-side joints, raise the sump water level, let the skimmer settle.
Sandstorm. Flow straight at the sand blows up the bottom. Fix: direct the pumps along the rock surfaces or upward, lower the power until the bottom stays put.
Cloudy water after a couple of days. Most often a harmless bacterial bloom at the start of the cycle. Fix: do nothing dramatic; let it settle, ensure aeration.
Unstable rock structure. A structure built on sand or unglued can move. Fix: assemble dry, fix with glue and rods, place directly on the base glass and test by pushing.
Progressing too fast. Animals are added before the cycle is complete. Fix: let the cycle finish and confirm that ammonia and nitrite are at zero.
Using tap water “just for filling”. It brings silicate and phosphate that show up as algae problems. Fix: use RO/DI water from the start, including the first fill.
The startup order in brief
- Place and level the cabinet and tank; install the background.
- Assemble the equipment (sump, plumbing, return pump) and run a leak test with RO/DI water for 24–48 h — including the flood test.
- Drain, place the rock structure (dry-assembled and fixed) on the base glass and bring substrate around it; leave a 3–5 cm gap from the glass.
- Mix and add saltwater: target 35 ppt / 1.025–1.026 and ~25 °C, mixing time per the salt manufacturer’s instructions, measured with a calibrated refractometer.
- Start and tune the equipment: heater (25 °C), circulation pumps (about 20–50× volume/h), skimmer, ATO (RO/DI); light modest.
- Begin the cycle (ammonia ~2 ppm or an inoculant) and monitor ammonia, nitrite and nitrate.
- Once the cycle is complete, build the fish population and coral stock gradually.
A well-done startup does not show immediately, but it determines the whole later life of the tank. It takes time, but every step done right saves many times the effort later.
More on this: Cycling process in practice · Mixing saltwater correctly · Substrate in practice
References
Literature
- Paletta, M. S. The New Marine Aquarium: Step-by-Step Setup & Stocking Guide. Microcosm / TFH Publications. (Startup steps, equipment selection and cycling.)
- Sprung, J. & Delbeek, J. C. The Reef Aquarium (Vol. 1). Ricordea Publishing. (System setup, equipment and water chemistry.)
Hobby literature and sources
- Abyss Pumps. Aquarium Pump Plumbing — Installation Guide (pipe sizing, friction losses, air locks, and failure analysis).
- Melev’s Reef (Vasquez, M.). Reefkeeping guides: sump, plumbing and tank setup. https://melevsreef.com/
- Top Shelf Aquatics. The Ultimate Guide to Setting Up a Thriving Reef Tank. https://topshelfaquatics.com/blogs/news/the-ultimate-guide-to-setting-up-a-thriving-reef-tank
- Nano-Reef Community. The Basics of Setting Up a Nano Reef. https://www.nano-reef.com/articles/beginners/the-basics-of-setting-up-a-nano-reef-r30/
Hobby communities
- Reef2Reef — New tank setup timeline. https://www.reef2reef.com/threads/new-tank-setup-timeline.1068829/
- Reef2Reef — How did you plan and establish your aquascape? https://www.reef2reef.com/threads/how-did-you-plan-and-establish-your-aquascape.1113360/